
In today’s blog, we will learn about how to create a Feature list which will be visible to your users in cPanel. Basically enables the disabled certain features on the user end cPanel.
Feature list means all the different sections which we see on the cPanel dashboard like: Files, Databases, domains, emails, Security, Metrics, software, Advanced, Preferences, Applications etc.
Step 1 – First, Login to WHM. Once inside the WHM login screen, enter your credentials.
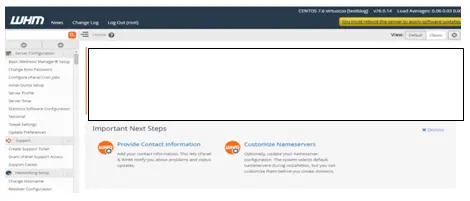
Step 2 – Once logged in you will see WHM home interface.
Step 3 – Scroll down to ‘Packages’ and then click ‘Feature Manager’. A new interface will appear.
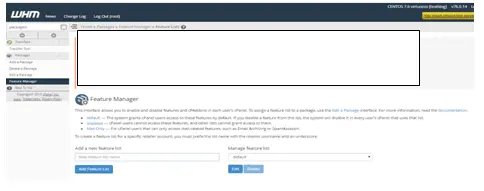
Feature Manager: – basically enables the disabled certain features on the user end cPanel. So basically what we are going to do is set up our first plan.
So in the text box under ‘Add a new feature list’ section – Feature list name – enter name – ‘Example’ which I am using. You can name this anything that you like.
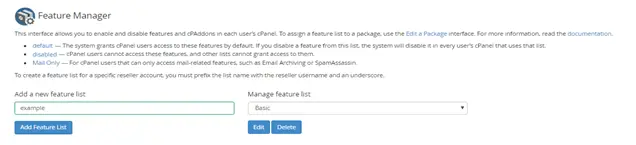
Step 4 – Then click ‘Add’.
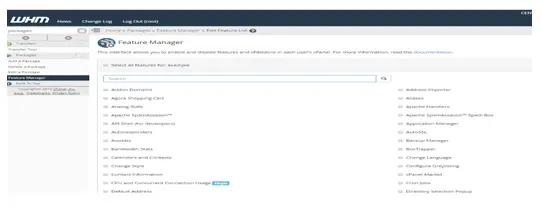
Now you will see all the features inside it. Here but basically what you can enable and disable the user that has access to plan you creating for ex: – you take off email domain forwarding and as this just a basic plan, the first plan that we are creating. While in an advanced plan which is a little more expensive and on the basic plan you can enable and disable and in the advanced plan we will go their next time.
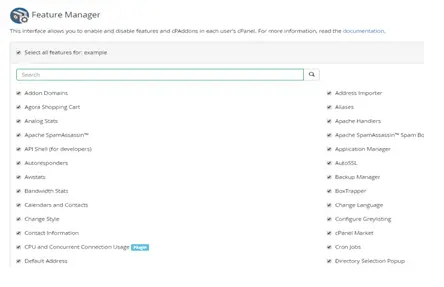
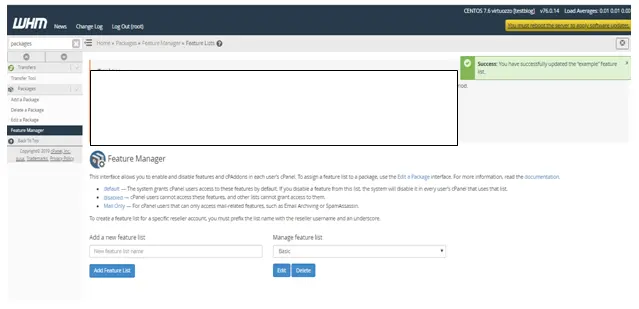
Step 5 – Next if you want to enable the email forwarding to enable it. Let them all enabled and click ‘Save’. A confirmation message will appear saying ‘Basic has been saved’.
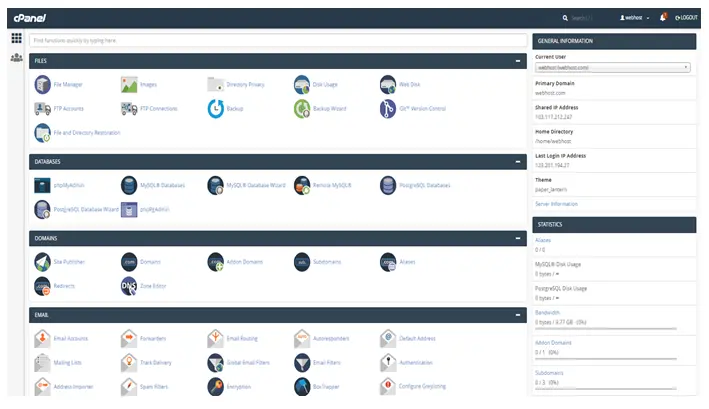
Step 6 – Now we will go to the customer’s end we will go to cPanel. Now you can see customers login. Enter the customer’s username and password, now we will be in their account. This way, you can see their hosting package is basic which we created. If you scroll up you will see the email accounts, subdomains, addon domains settings including disk space.
You must log in to post a comment.